
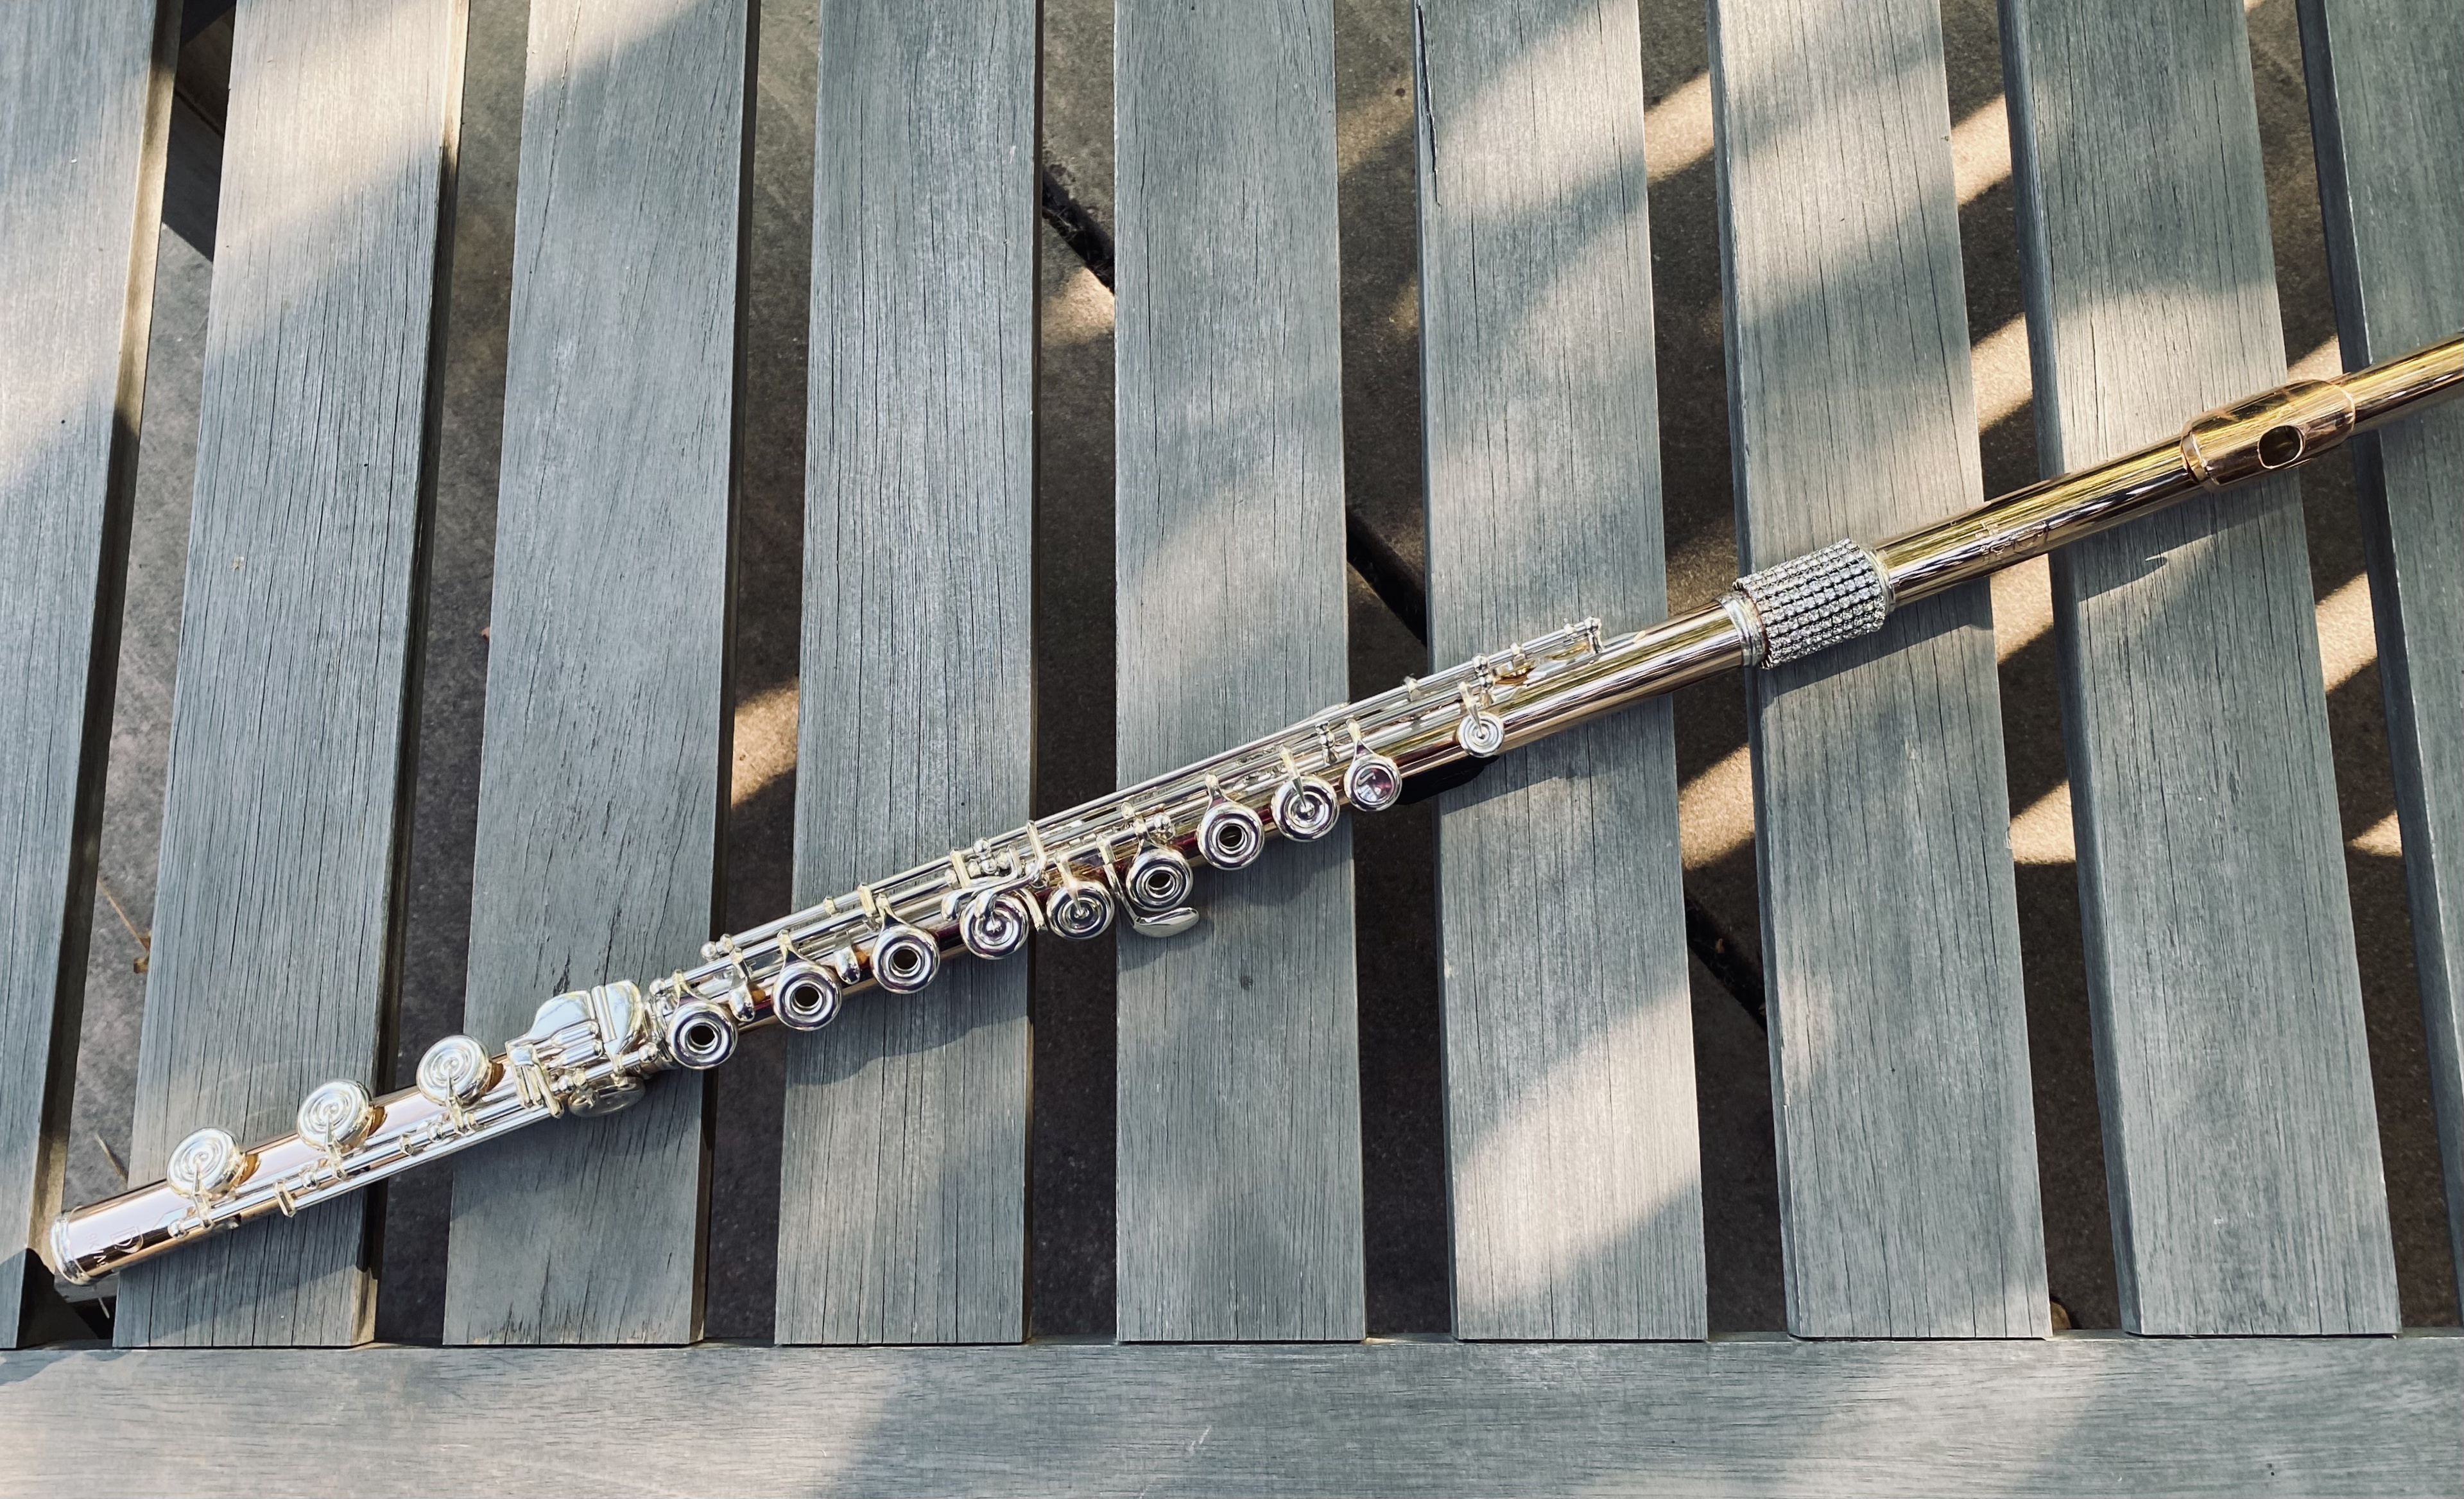
Greetings and welcome to a new Flute Friday! A few weeks ago, one of my new beginning flute students asked me about the correct way to align her foot joint with the body of the flute, a topic we had discussed at our first lesson. I showed her my own instrument and explained that the rod on the foot joint is typically lined up with the middle of the bottom key on the body of the flute, which she already had aligned correctly on her own flute. She explained to me that her band director at school had told the class to instead align the rods on both the body of the flute and the foot joint. We will forgive this band director as they are a non-flutist, but I was very concerned that there may be young flute students around the community trying desperately to contort their pinkies around this alignment, suffering in pain, and potentially inviting tendonitis into their young lives. I quickly found numerous articles and blogs supporting proper hand position, with clear pictures showing the rod of the foot joint aligned with the middle of the E key on the body of the flute and instructed her to share the info with all of her friends. Today, I would like to join the Proper Alignment Bloggers Club with my own tips on hand position. If you are a beginning flute student just learning how to put the flute together, a flute teacher trying to correct similar incorrect hand positions, or a band director wanting to know more about how a flute is properly aligned for maximum student comfort, this blog is for you!
Dr. G’s Dos and Don’ts of Hand Position
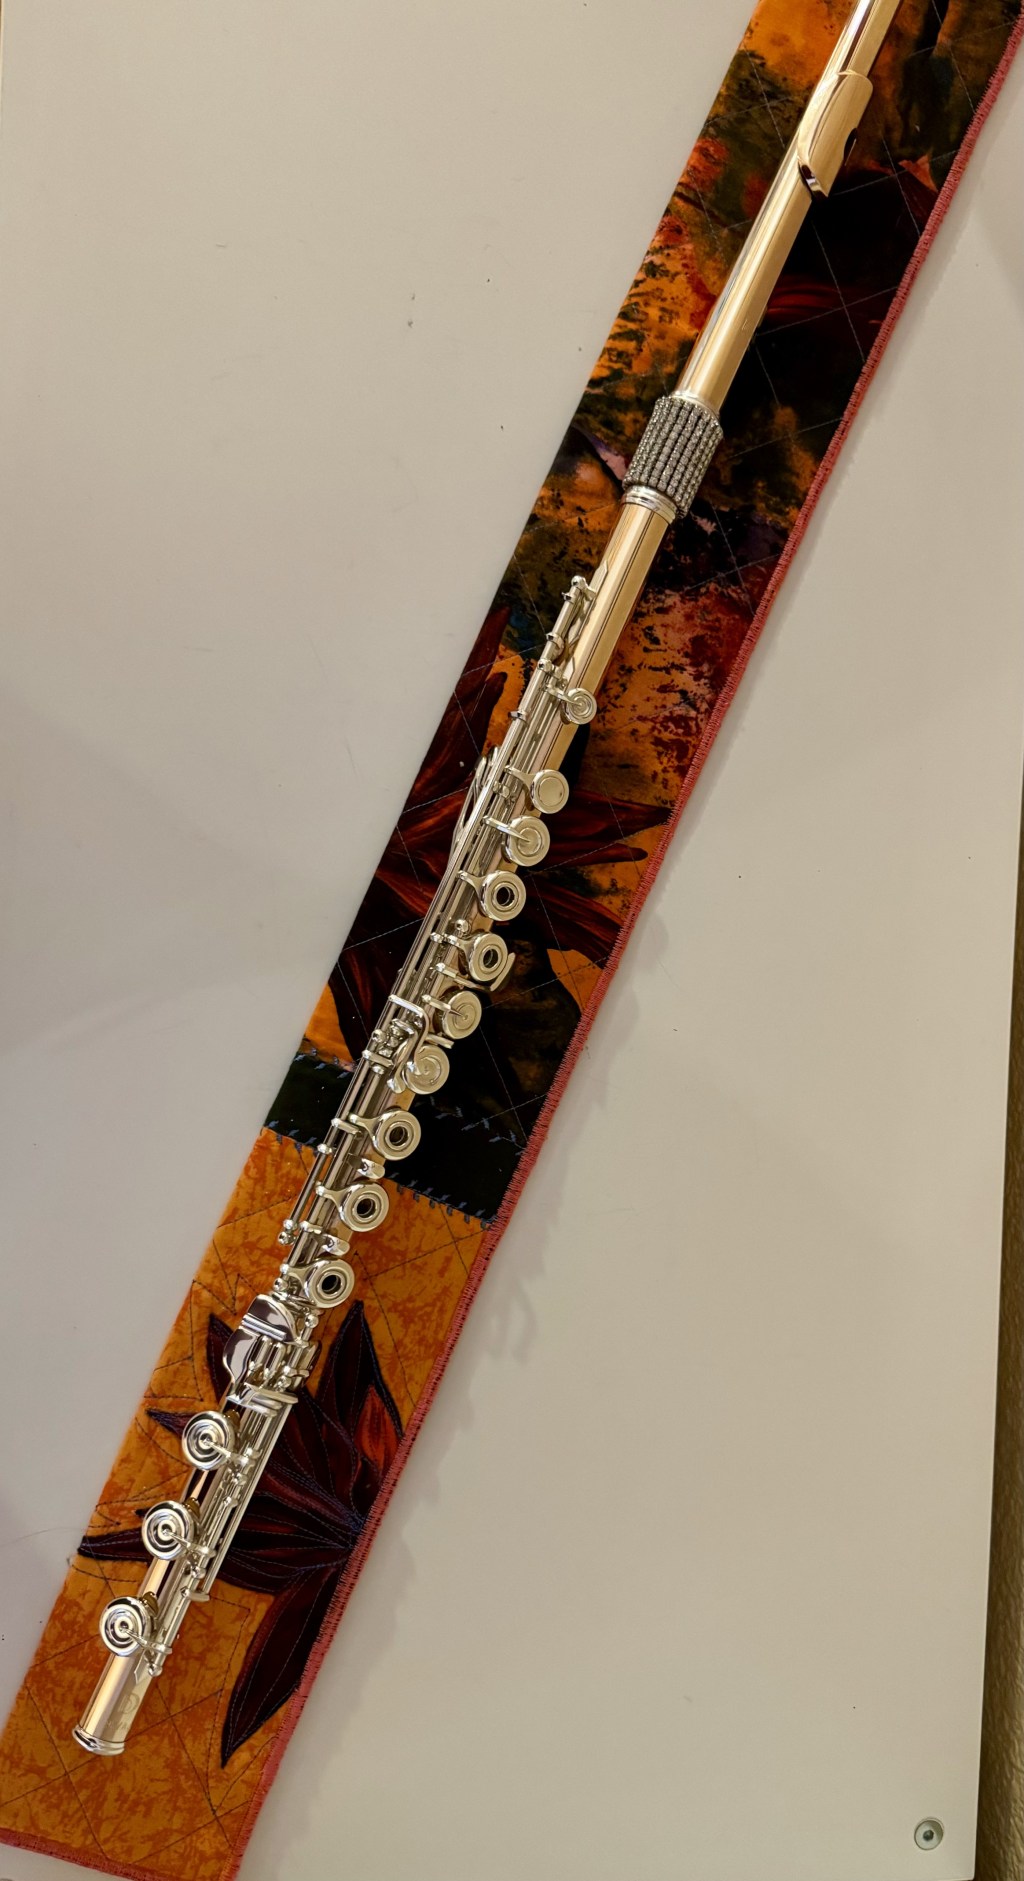
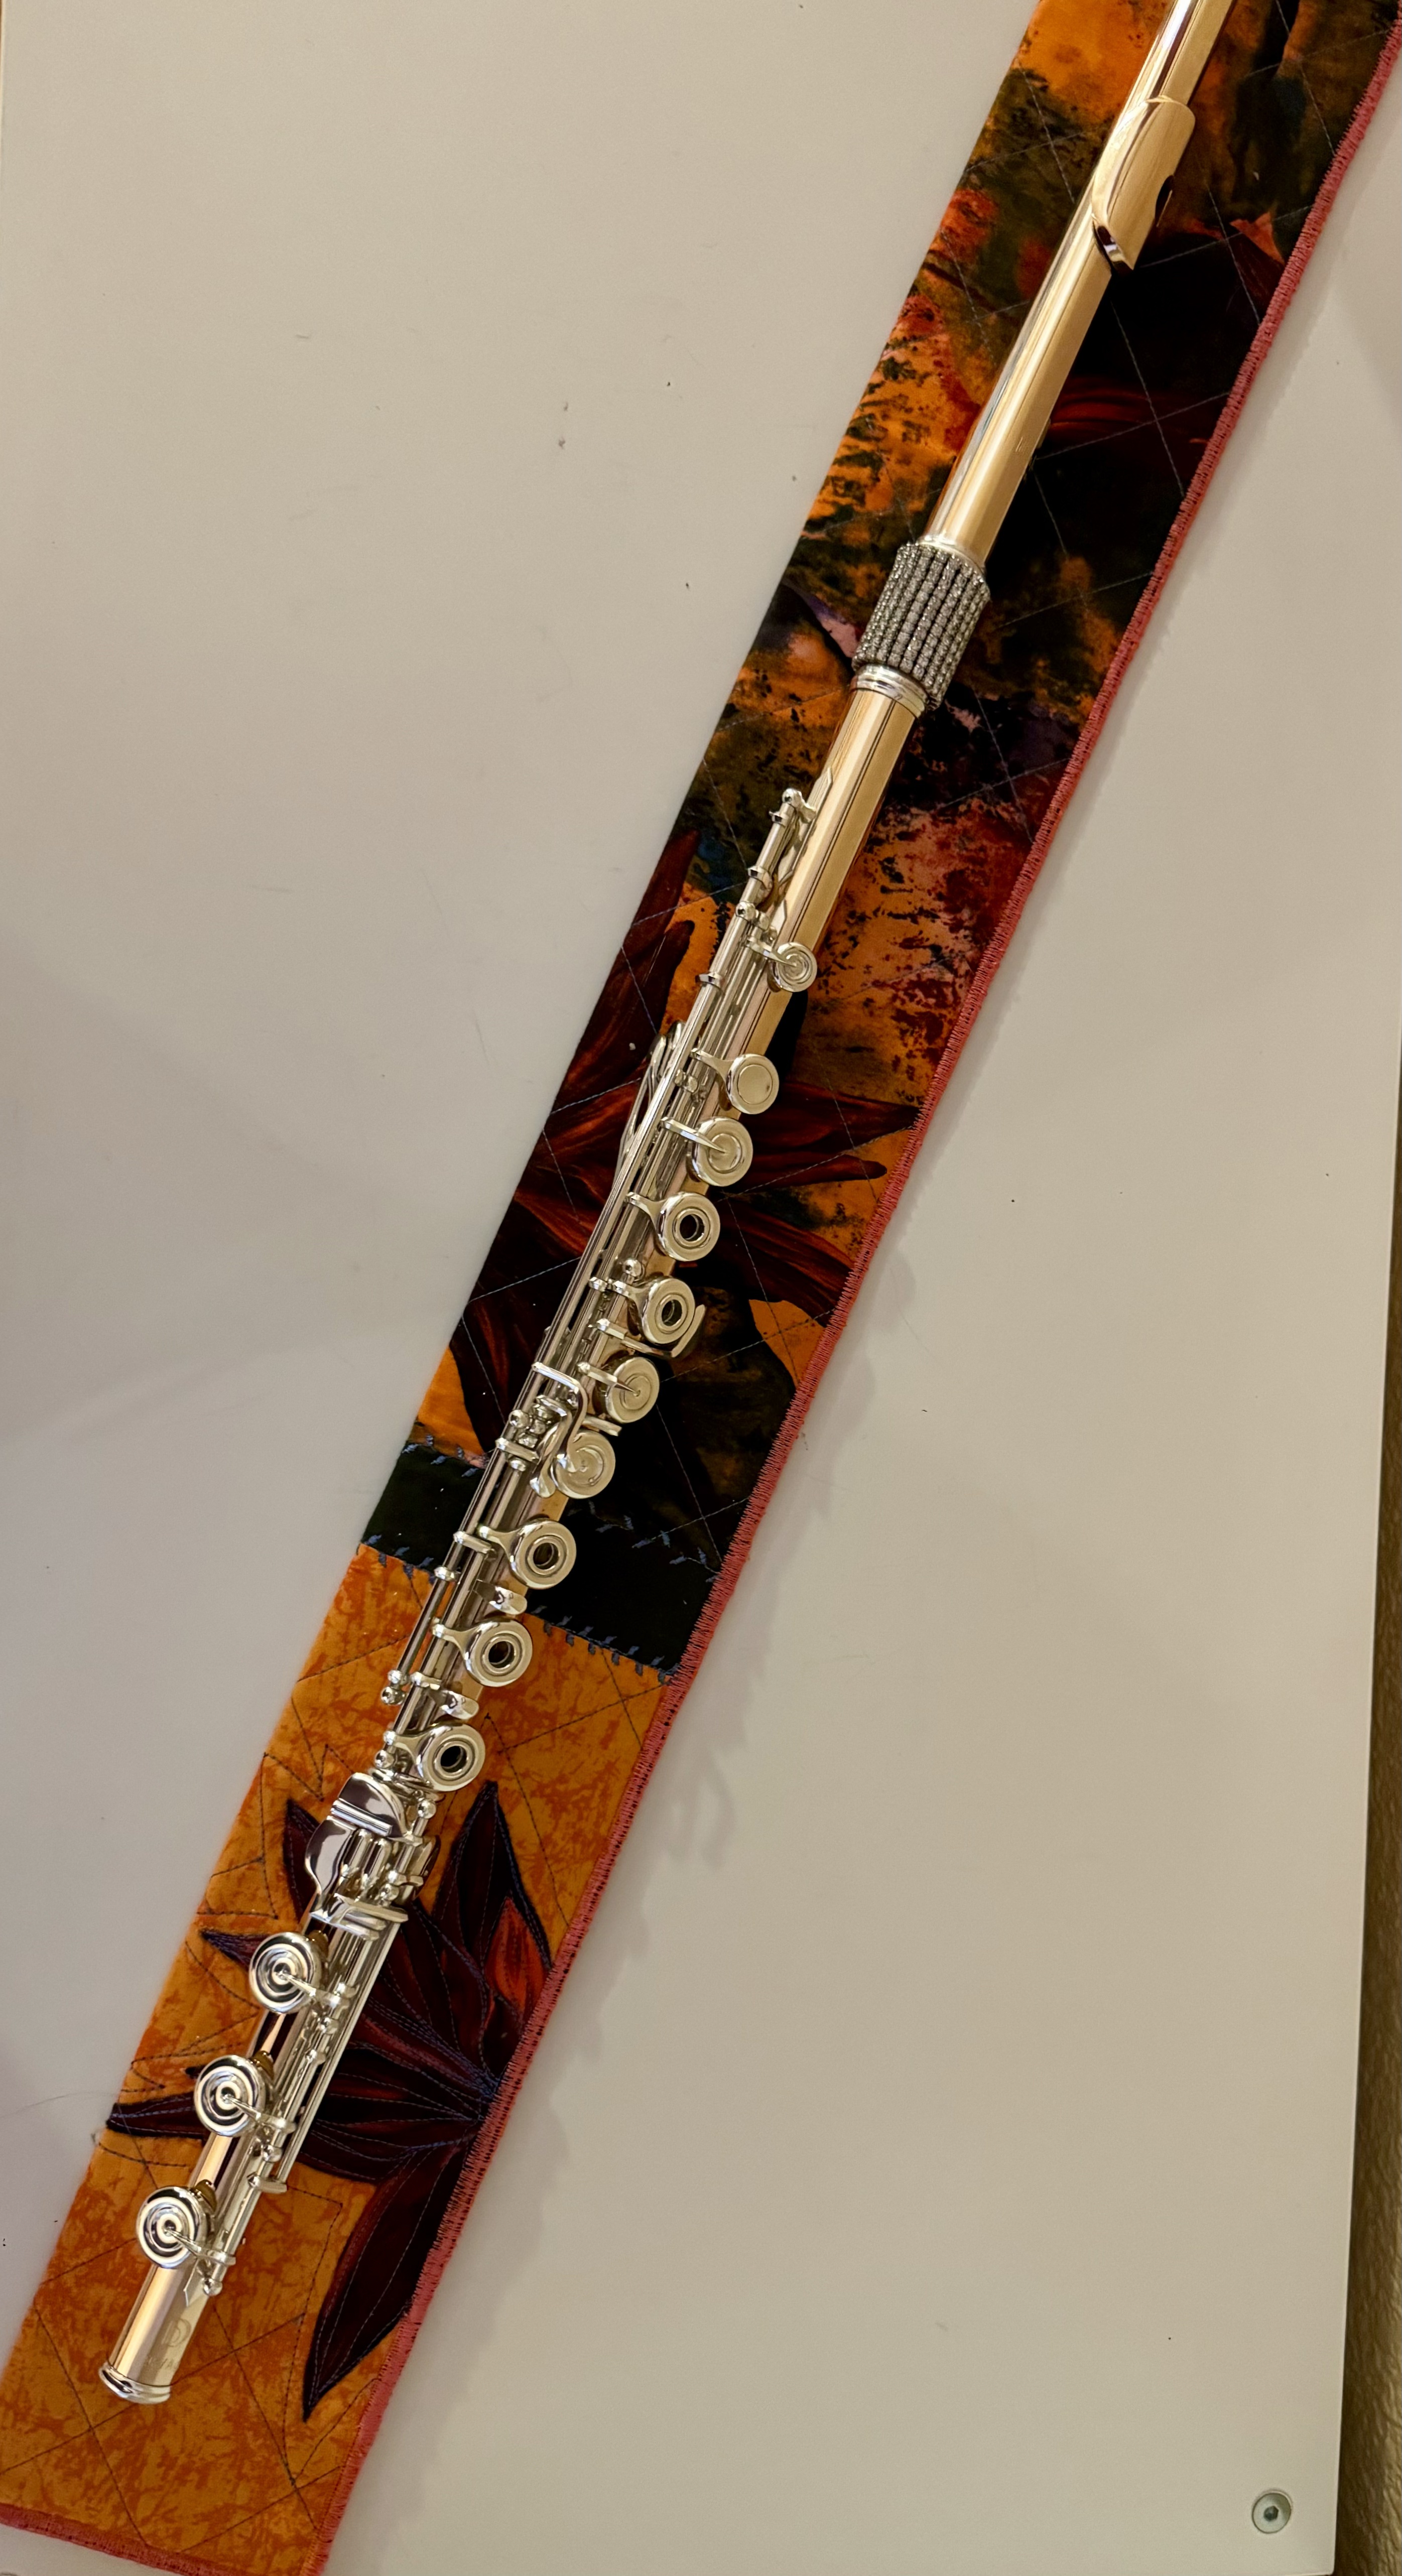
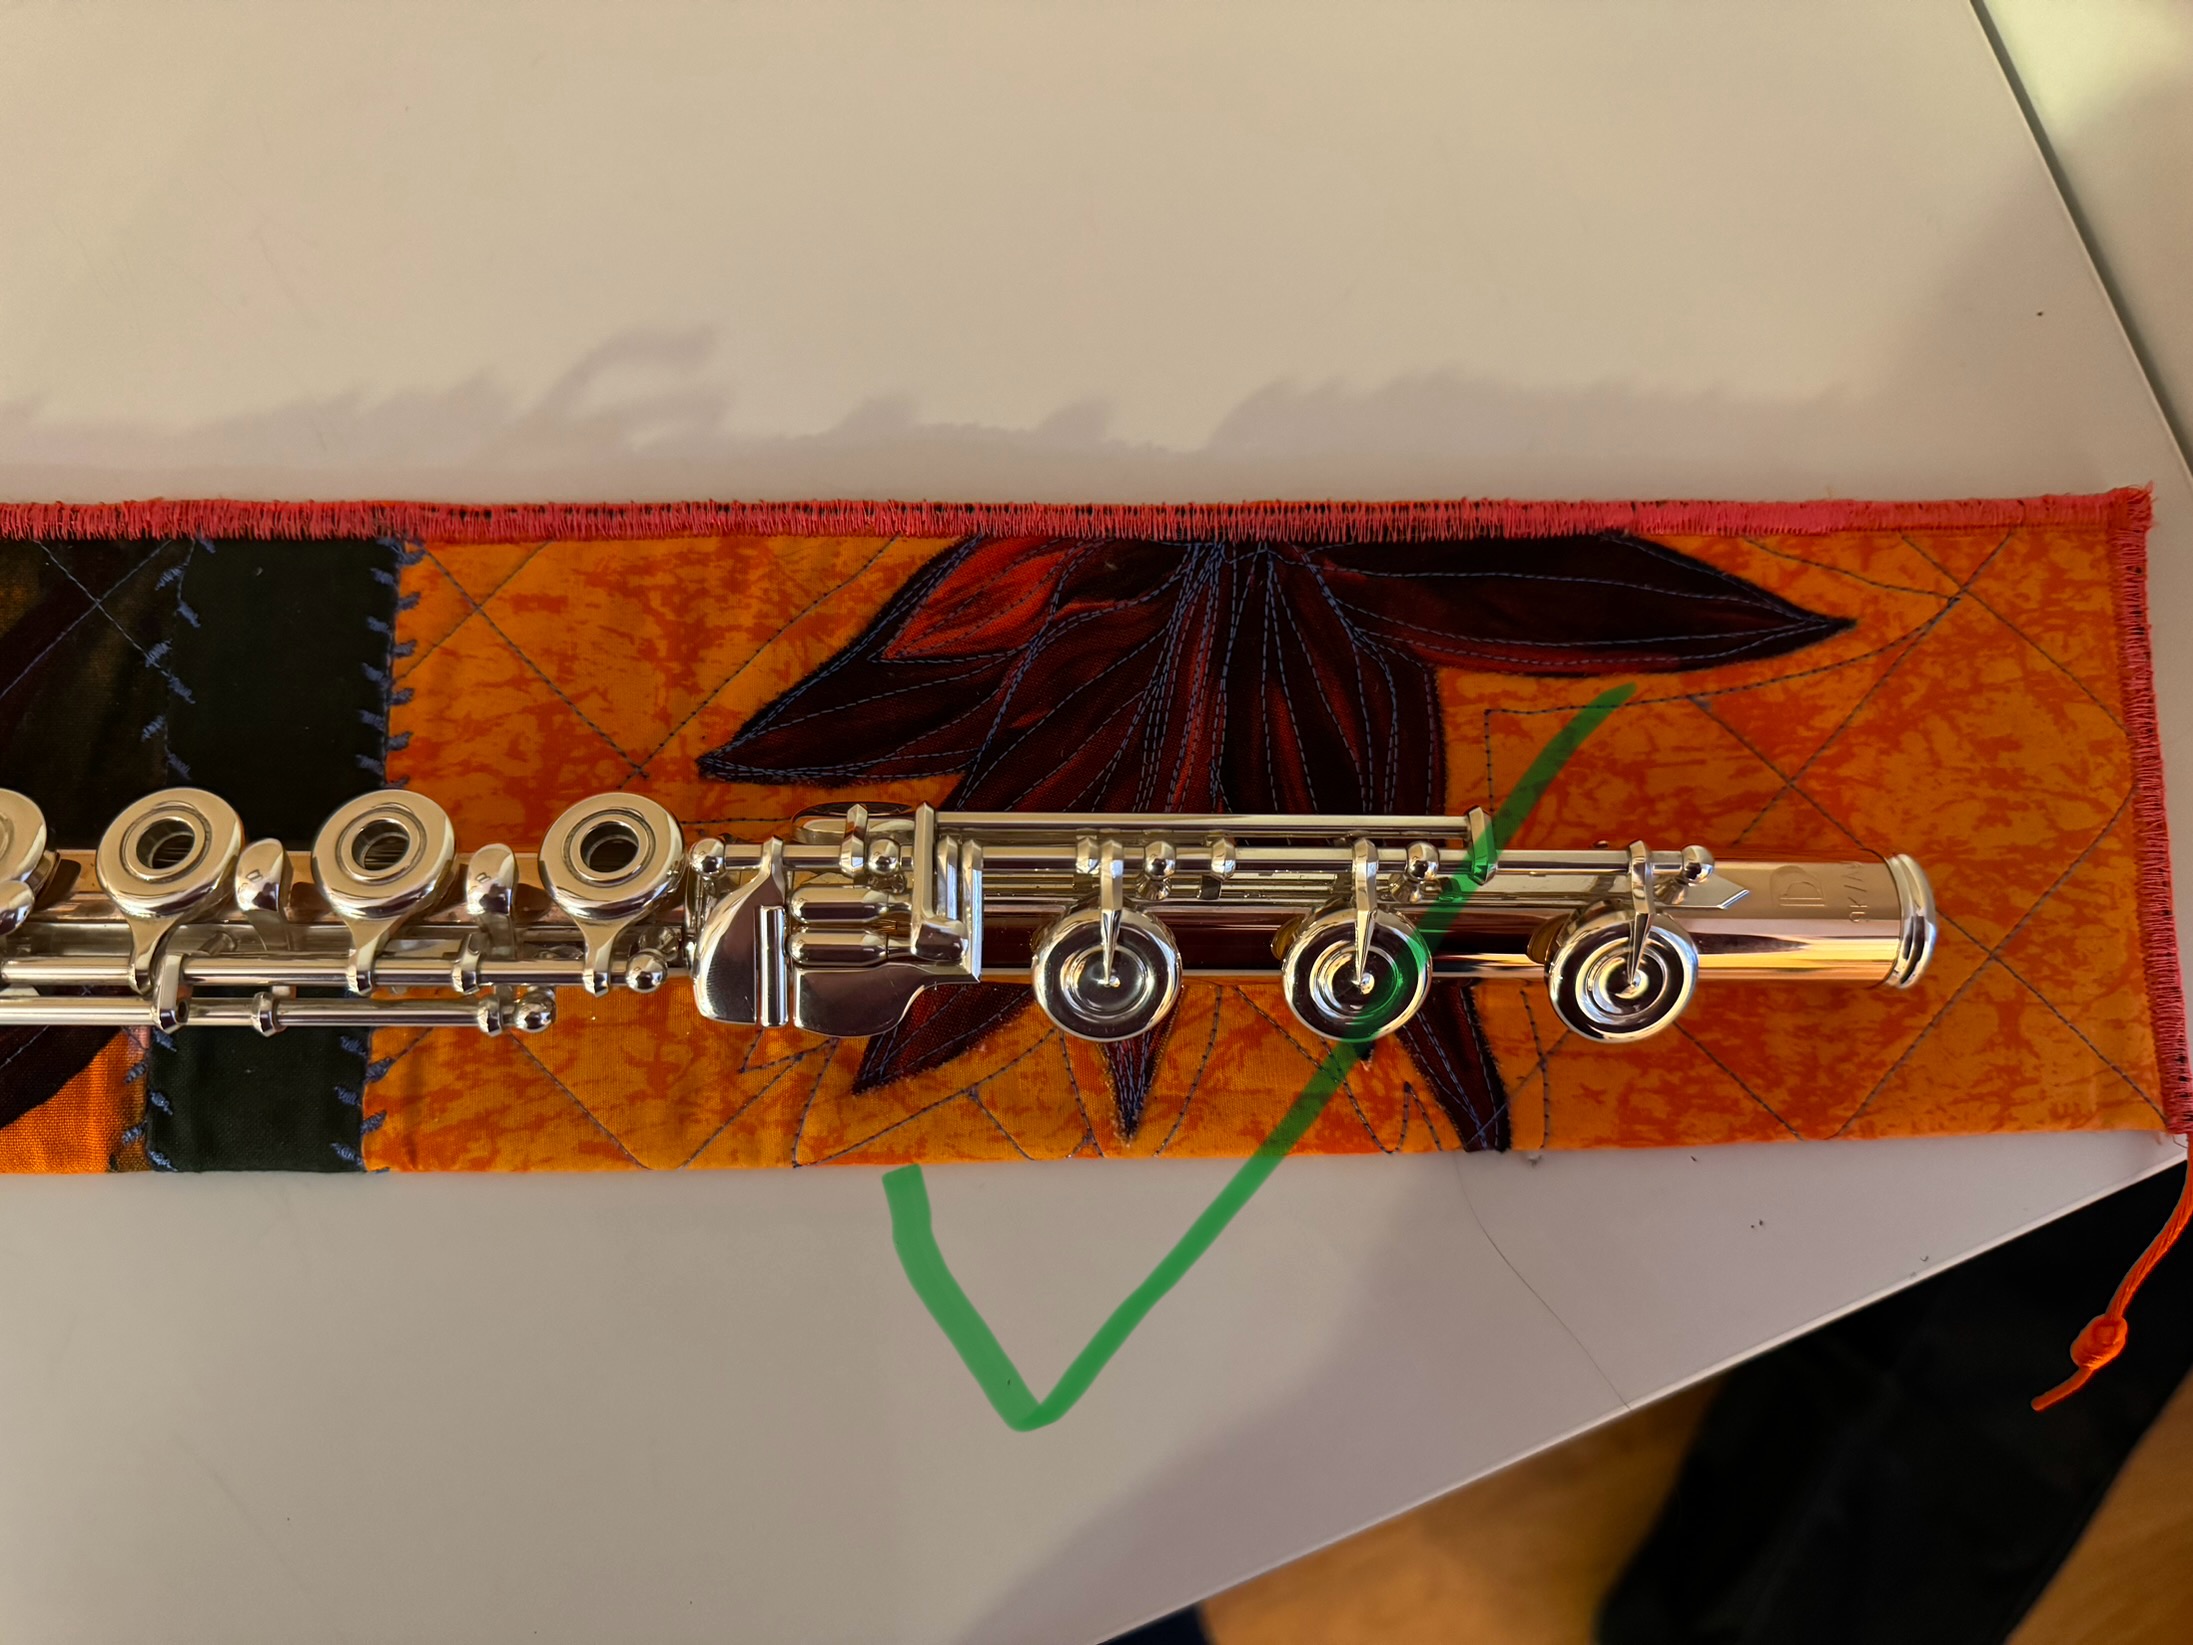
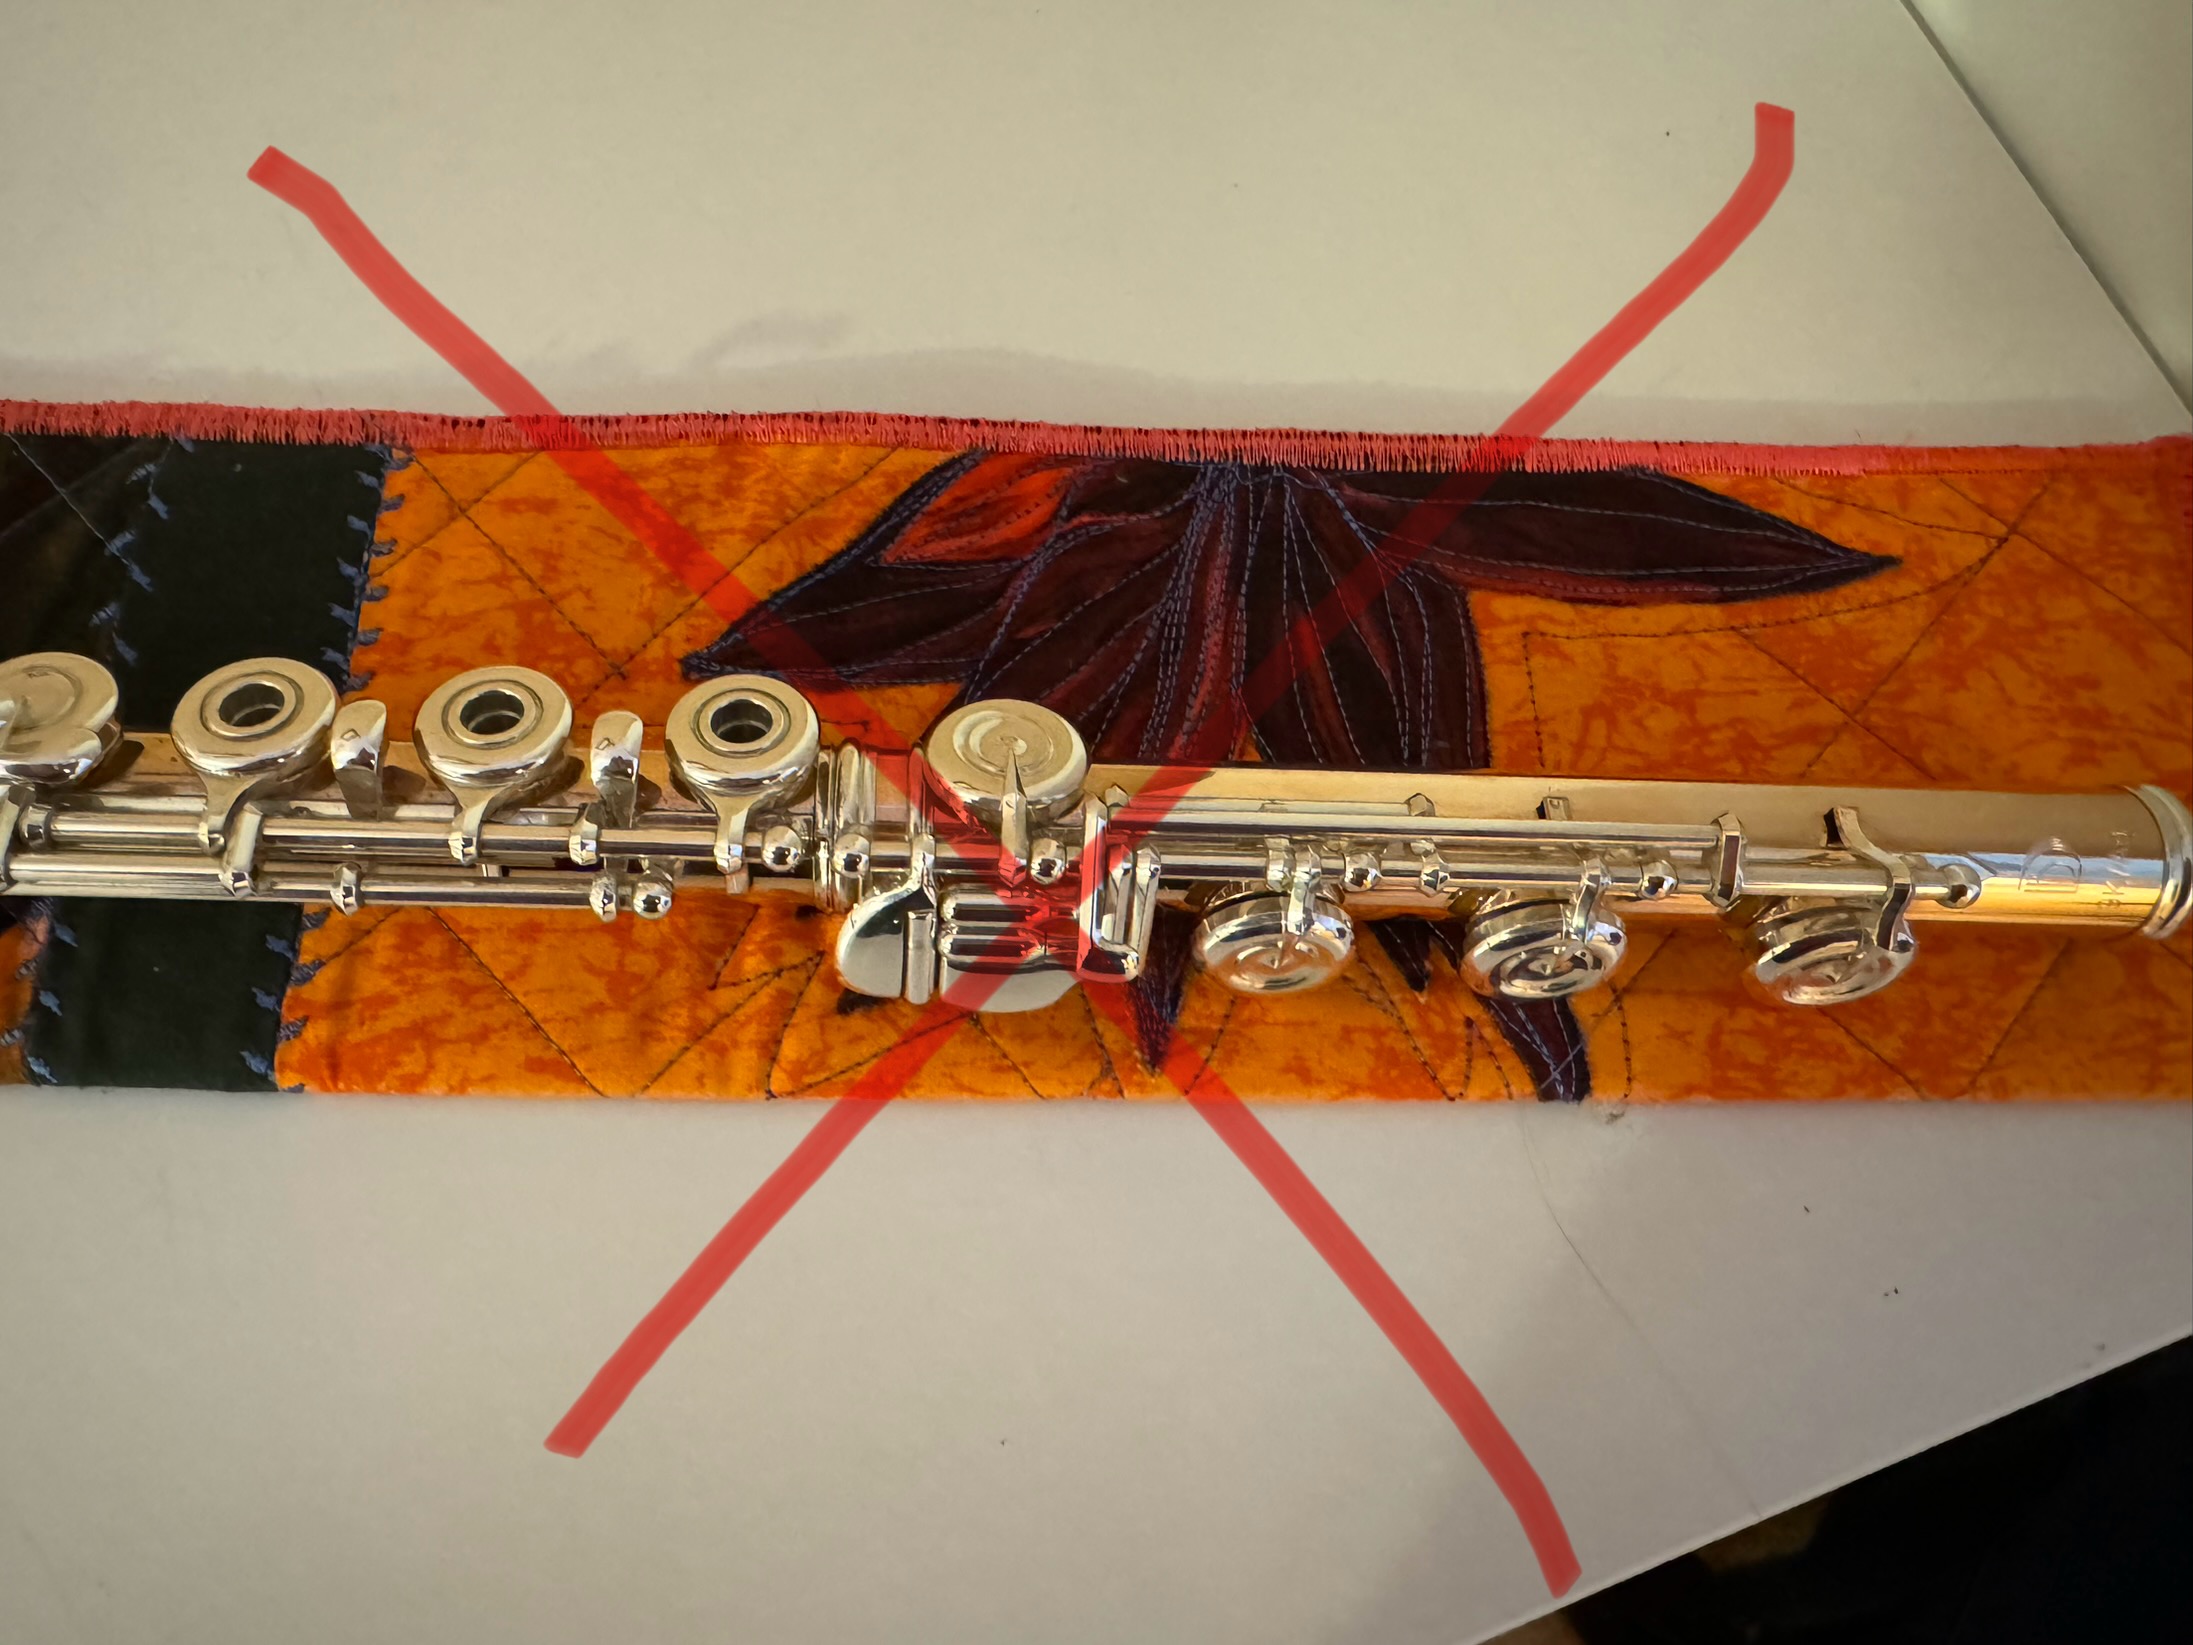
DO align the rod of the foot joint with the middle of the E key (aka the bottom key) of the body of the flute. This is super important because it aligns the Eb pinky key with the natural position of the hand, making it comfortable and natural to play low notes on the foot joint. Once a beginner advances to an open-holed flute, this position may be tweaked slightly to align the rod with the outer edge of the finger hole. Again, this is for max comfort while trying to ensure that the entire hole of the key is covered when in use. Of course, you may adjust if a student has unusually large or small hands. The bottom line is that the keys on the foot joint should align with the natural position of the pinky. No contorting of pinkies! There is no pain in flute playing!
DON’T accept pain. If you are playing with an alignment that causes you soreness and/or pain in any way, speak up. Discuss with your teacher. There are so many alternatives to pain! Some of these may require and fancy key extender here or a flute gel there, but there is always a way to make it better. Playing the flute should not cause physical pain.
DO start by aligning the center of the tone hole on your head joint with the first key on the body of the flute. This is the most basic alignment and works well for a majority of beginners. As you become comfortable producing and sustaining a sound, you may experiment with other alignments (such as the Rockstro position).
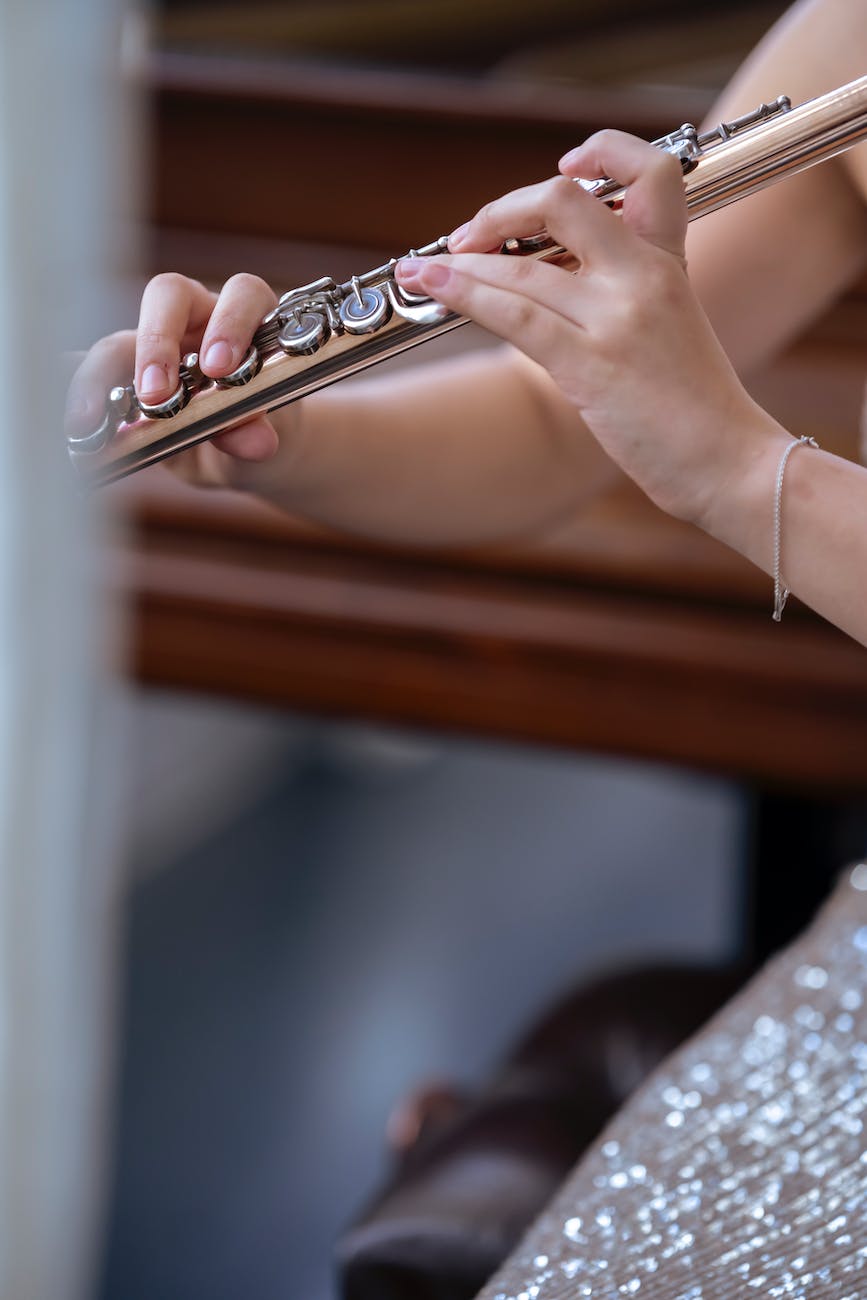
DON’T let your fingers hang over the edges of the keys. You want to make sure that the flute is supported enough by your thumbs and the side of your left index finger that your fingers are light and free to stay curved and hover over the keys when not in use.
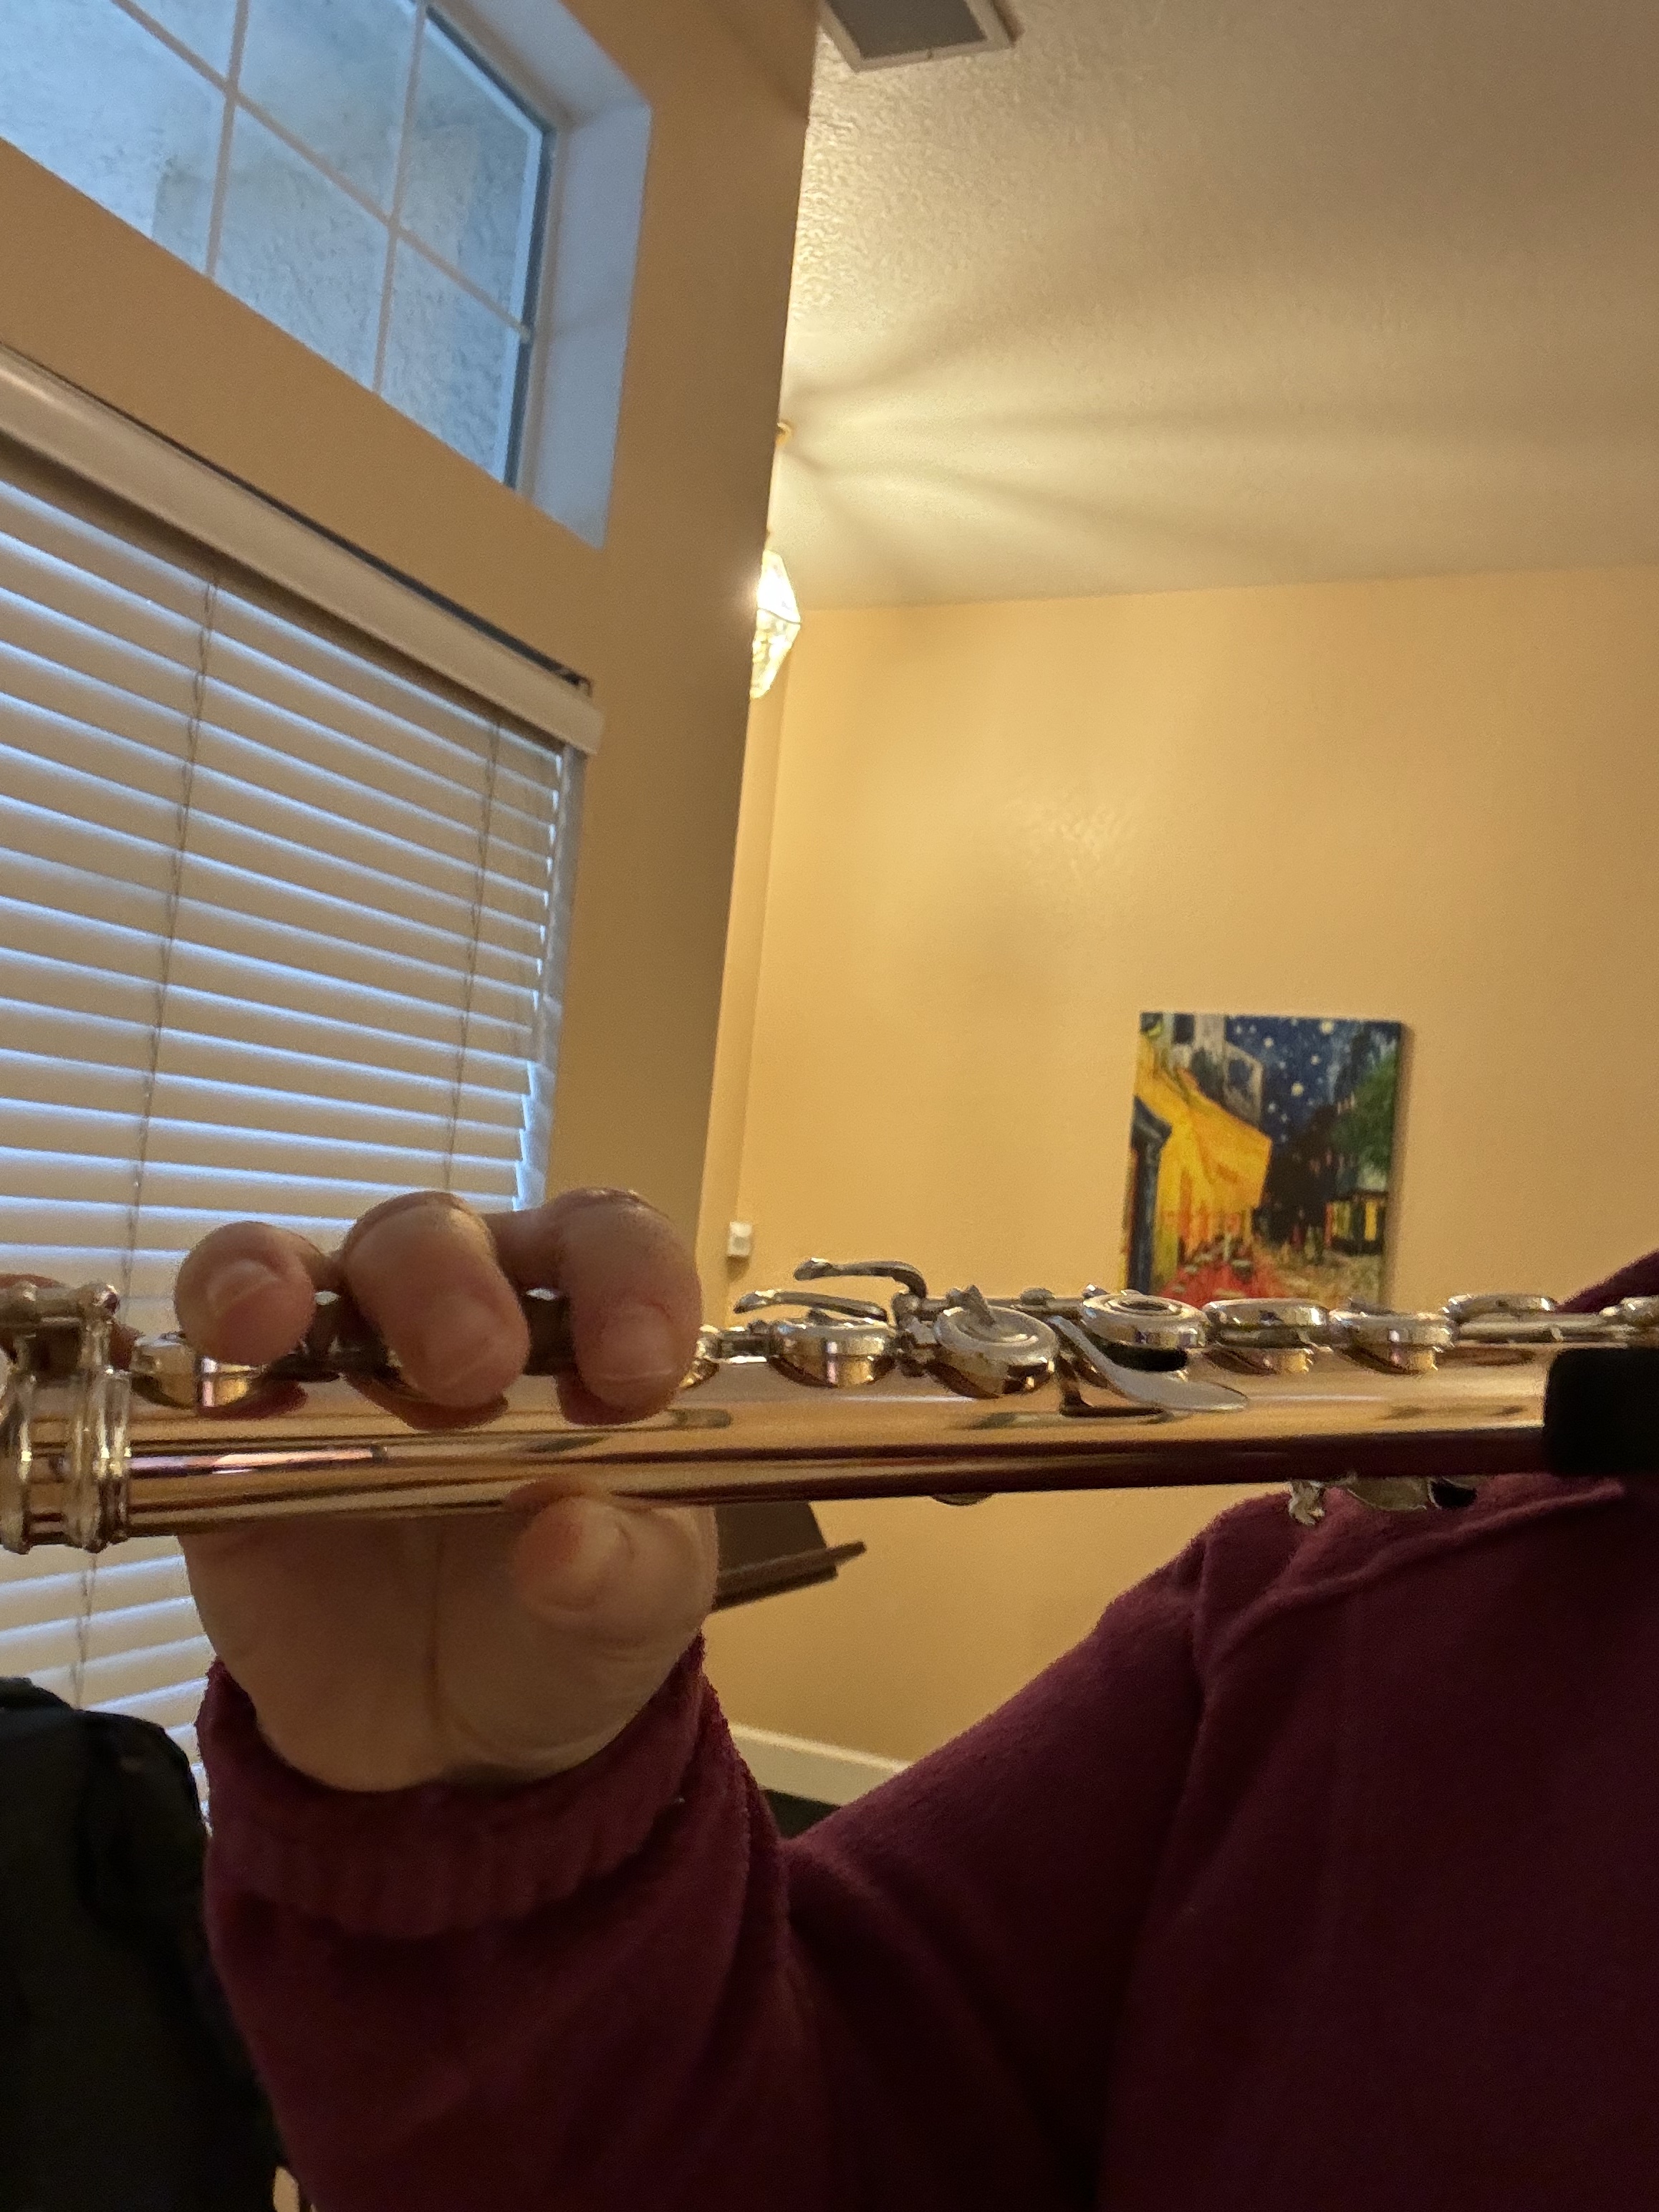
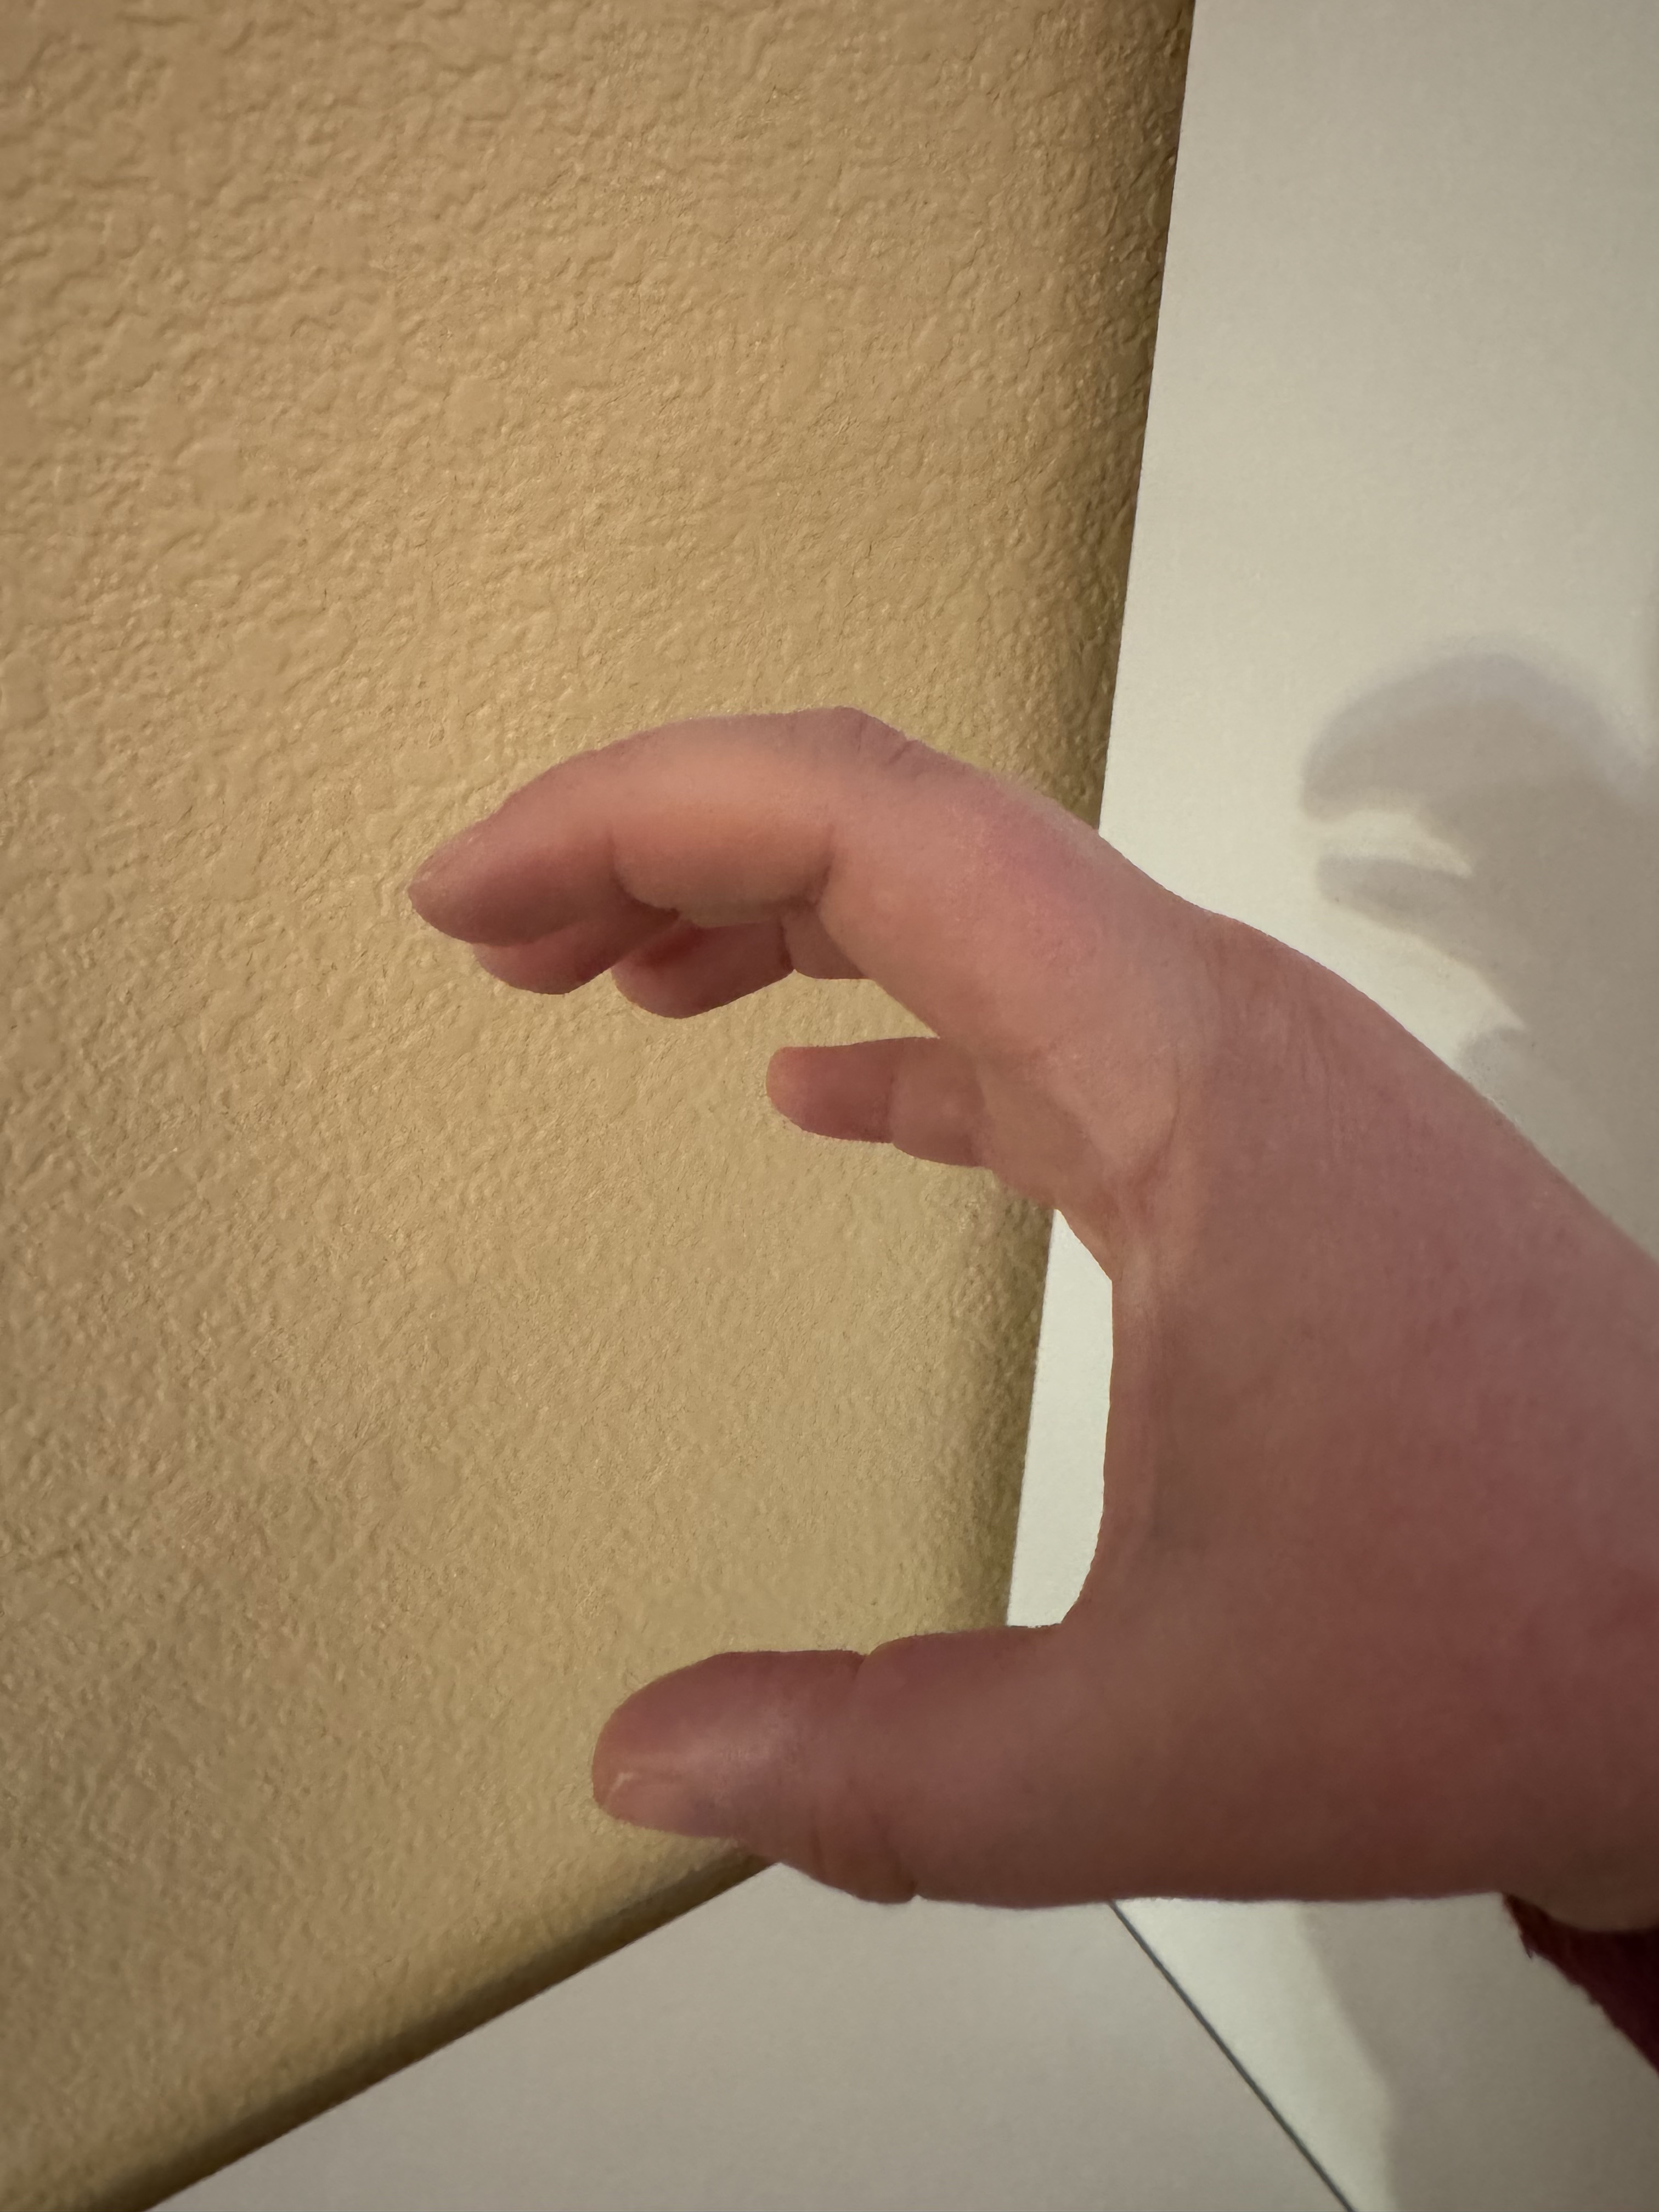
DO make sure your hands are rounded as if you are holding an imaginary tennis ball. This will give you a good base for your thumbs and the best angle to place your fingers over the keys on both hands.
DON’T let your pinkies drop beneath the flute. Your pinkies are still important even when they are not in use on the Eb and G# keys. Make sure they hover freely over the keys so when you need to play these notes on a moment’s notice, you are already poised and ready. Moving a pinky from a long distance takes far more effort in the long run.
DO make sure to keep your fingers relatively close to the keys when not in use. There are gadgets available on the market that you may place over your flute to act as a box to keep your fingers from flailing high above the keys. I avoid using these gadgets because they seem a bit cruel and possibly painful for students just learning to control their fingers, but I do encourage students to practice in the mirror and watch how high they lift their fingers. I, myself, once had a teacher that would place their hand above where my fingers should stay when not in use.
And finally…
DO discuss proper hand technique with your flute teacher. If you have questions about something another teacher has suggested, or if there is an alignment that you don’t understand, or worse, is painful, discuss with your teacher. It could be that you are holding your flute in a way that you did not realize. Or it may be that something about the standard way we align the flute just does not work for you. There are alternative ways to make it more comfy. Open this dialogue with your teacher. They may have a creative new approach or a fun gadget to help you out.
***
Have you ever received questionable hand position suggestions? What hand position works best for you? Do you use any modifications or gadgets to help you better align your hands to the flute? Please comment below!
Happy fluting!


Leave a comment