
Greetings and welcome to a new Flute Friday!
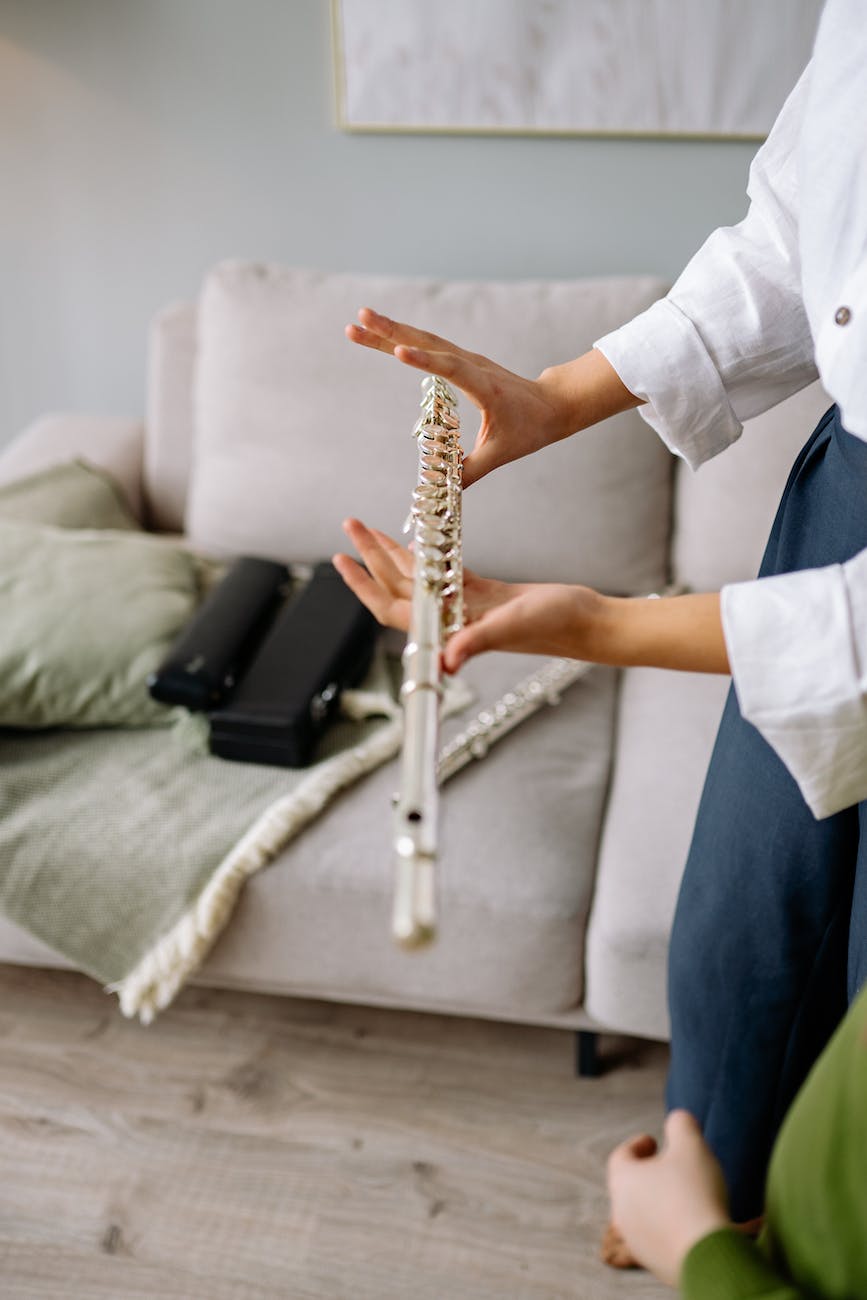
Happy September! As we dive head-first into a new school year (with Iced Pumpkin-Spiced Lattes in hand, of course), many of us will be welcoming new students into our flute studios. Some of these students may be sporting shiny new instruments while others may be borrowing their aunt’s old Bundy models from the 1970s (I was definitely in the second group myself when I began learning to play the flute). Both types of instruments can run into major and minor repair needs as students begin to practice more often, sometimes sending them (and their parents) to the repair shop for minor issues that could be addressed by an eagle-eyed teacher with the right tools. In today’s blog, I will discuss a few basic flute repairs tips, circumstances that warrant a larger discussion with a qualified repair expert, and best practices to help students avoid common repair issues. Remember, when in doubt, always consult your favorite repair shop or repair expert.

If you would like to know more about flute repair or become a repair technician yourself (saving your students and, let’s face it, yourself valuable time and money), check out the awesome courses offered through Lisa’s Clarinet Shop! These include two levels of flute repair courses in addition to a 3-day training with master technician Carolyn Nussbaum (who is a force in our flute world – I am forever a superfan). Literally learn from the experts! These courses include access to a video library of repair techniques as well as a private forum to ask questions and share knowledge with participants outside of the Zoom classroom. Click here for more information and to register! Tell them Dr. G. sent you!
****
FLUTE REPAIR 101 – THE THORN AND THE ROSE
(Of course, Dr. G had to throw in an 80’s metal reference…) The below list identifies a few common repair issues and handy dandy suggestions on how to address them. Some of these items will require you to take the flute directly to a technician while others may have a simple MacGyver-style fix with the right tool. If you are not sure, always take your flute (or your student’s flute) to the shop.
Notes not sounding or sounding weird/muffled. Check the flute for springs that have disconnected from their catch. These often just need to be guided back to their home post. A small tool is best for this. Find one here: https://www.flute4u.com/Woodwind-FIXIT-Tool.html
A section of the keys are not moving or moving all at once. This may suggest there is a problem with the rod the keys are connected to. Is it bent or looking otherwise wonky? If not, the mechanism inside may be clogged with rust or dirt. Drop.the.key.oil! Adding more oil to this problem is like adding kerosene to a house fire. This is one of the times you will want to take your flute to a repair technician for a proper diagnosis and cleaning. There may be issues that you cannot quite see from the outside.

The dreaded (but very common) leak. If you notice that a note sounds a bit airy, is squaking unnecessarily, or is not very responsive, a leak may be to blame. Identifying a leak is relatively simple: If a key is connected to another key and closes while the trigger key is pressed, take a close look to see if the pad on the second key is closing the keyhole all the way or if it is hovering slightly above. A leak is that small space between the pad and the keyhole where air is escaping. Check out the rods that connect the keys to each other. Is there a screw that joins them together? If so, try tightening that screw with a small screwdriver. If the issue persists, then there may be a leak in the pad itself. In that case, you will need to take the flute in to the shop as the pad may have shifted (which is common in new instruments) or the key itself is bent. A skilled repair technician can reset or replace the pad or repair the bent key.
Lose screws and rods. Yeah, yeah…funny joke…loose screws (like the ones in my head). But loose screws are not that funny – They are super annoying and present problems at the most unpredictable and inconvenient times. Do you see a screw or rod sticking out from the flute? This, of course, is natural as the flute vibrates when it is played, making a loose screw loosen even further. A loose screw can mess with the alignment of the mechanism, making the keys not properly cover the tone holes (where the heck did my notes go??). Tighten loose screws with a small screwdriver. Be careful not to close too tightly as this could result in keys that close all the way when they are supposed to remain up. If this happens, carefully unscrew the screw until the key moves again. If this is a chronic problem, consider taking your flute into a technician for possible longer-term solutions.
Sticky pads. We all know that sound…reminiscent of wrappers on old, melted pieces of candy found in your glove compartment or in random coat pockets. This one is easy peasy – Cigarette paper. Carefully place a piece of cigarette paper between the pad and key. Do.Not.Pull.The.Paper.While.Pressing.Down.The.Key. Yes, I am being dramatic, but I learned this the hard way in my youth. Not a good idea as you may damage the pad. And pads aren’t cheap. This trick is also great if you have condensation on your pad that messes with the response of the note (this may be why your student is fingering a G, but it sounds like an F). Product companies have jazzed up the concept of cigarette paper by marketing it as “cleaning paper” for flute-specific needs. If you are on a modest budget, opt for cigarette paper.

The headjoint and/or footjoint is very difficult to put on or take off the flute. Stop what you are doing. Do not pass Go. Do not collect $200. You never want to force the joints onto each other – It is super easy to accidentally squeeze a neighboring key too hard and bend it or the mechanism itself. Adding oil or lubricants will also run the risk of such materials making their way into the joints or under the pads, leading to way more expensive problems. Instead, take your flute to your favorite technician for adjustments. These are relatively easy for a skilled technician with the right tools.
BEST PRACTICES FOR AVOID REPAIRS IN THE FIRST PLACE
- Swab your flute daily to keep it clean in the inside.
- Polish the outside of your flute every day to remove fingerprints and protect against tarnish.
- Avoid touching the keys while assembling the different sections of the flute (headjoint, body, footjoint). All it takes is one squeeze of a key to send you to the principal’s office (aka your repair technician).
- Remove rings and bracelets while you play. It is super easy to scratch your instrument when the various metals meet.
- Avoid playing in extreme temperatures. Heat and cold effect metal in strange, wonderous ways. Don’t put your flute at risk by risking meltdown or freeze up.
- If your cleaning cloth gets stuck in your flute, do not try to force it out. See your repair technician to be safe.
- Do not use your own adhesives to glue keys or pad back together (I learned this the hard way when I used bubble gum to adhere a piccolo pad to a key moments before a major performance. Brought it to my technician shortly thereafter, who wasn’t amused).
- Use a flute stand while practicing, rehearsing, or performing. This limits the accidental disasters that might occur if you or others accidentally knock your flute over, or if your dog decides to check out the pads closely with their claws (been there…not fun…$400 later…do not recommend).
- Unless you are properly trained, DO NOT disassemble your flute by yourself. If you really want to see how all of the parts fit together, this DMA Paper by Horng-Jiun Lin has a lot of great pictures and descriptions about how all of the piece fit together.
- Schedule a COA (clean, oil, and adjust) once a year to keep your flute in good condition and address problems as they arise.
- Schedule an overhaul every five years. It will be like taking home a brand-new instrument in tip top shape.
OTHER RESOURCES
There are several decent YouTube flute repair videos available. Check out a few of my favorites here:
Flute Expert Explains How Flute Repair Works (The Flute Channel) – https://youtu.be/LLNutR8o2q0?si=TJVu-T0CjcSXQx9u
Repair Emergency Repairs (Repair Masterclass) – https://youtu.be/BiN3xDIzY0g?si=L4PvzdPiunxjbYES
Does Your Flute Need a Service (The Flute Practice) – https://www.youtube.com/results?search_query=flute+repair
***
Do you perform minor repairs on your flute or your student’s flutes? Do any of these tips resonate with you? Do you have a memorable repair story? Please comment below!
Happy fluting!


Leave a comment